Ever seen a message saying “allowed memory size exhausted” on your WordPress site? Don’t worry, we’ve got a simple guide to help you fix it by increasing the PHP memory. Let’s break it down!
Understanding the WordPress Memory Problem
WordPress uses a programming language called PHP and needs a good server to work well. Think of it like a computer – your website needs memory to run different things at the same time. The server gives specific amounts of memory to each part, including PHP.
So, if your WordPress website needs more memory than it has been given, you might see an error like this:
Fatal error: Allowed memory size of 33554432 bytes exhausted (tried to allocate 2348617 bytes) in /home4/xxx/public_html/wp-includes/plugin.php on line xxx
[screenshot]
This can happen if your WordPress site has:
- Lots of pictures, videos, or other media
- Plugins that you’re not using
- Outgrown its hosting plan
WordPress usually tries to fix this by itself, but sometimes it needs a little help.
How to Fix it: We’ll show you an easy way to give your WordPress site more memory, so it runs smoothly and doesn’t show that error. Let’s get started!
How to Increase the PHP Memory Limit in WordPress
There are several ways to increase the PHP memory limit. One is to edit the wp-config.php file, another is to tweak the .htaccess file, and the last method is to check the php.ini file.
Let’s go through each one:
Editing the wp-config.php File
1. Editing the wp-config.php File:
- Locate the wp-config.php file in your WordPress site’s root directory (often named public_html).
- Use an FTP client or your hosting control panel’s file manager.
- Add the following line just before “That’s all, stop editing! Happy blogging.”
define( 'WP_MEMORY_LIMIT', '256M' ); - Save and upload the file back to your server.
2. Editing the .htaccess File:
- Find the .htaccess file in your WordPress website’s root folder.
- Add the following code before the line “#END WORDPRESS.”
php_value memory_limit 256M
- Save and upload the file to your web server.
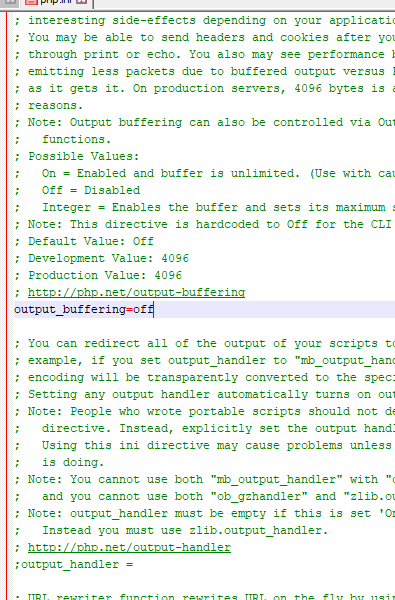
3. Checking Your php.ini File:
- If the above steps don’t work, look for the php.ini file.
- This file manages PHP settings and is usually handled by your hosting provider.
- For non-tech users, it’s best to contact your hosting provider’s support team to increase the PHP memory limit.
By following these simple steps, you can say goodbye to the memory error on your WordPress site. For more WordPress tips and troubleshooting, check out our beginner’s guide and explore our recommended plugins to enhance your site.
If you found this helpful, subscribe to our YouTube Channel for easy-to-follow WordPress tutorials. Connect with us on Twitter and Facebook for more updates!