Table of Contents
This guide makes it easy to install Elementor Form and the Elementor Form Google Sheet Connector Plugin.
Integration of Elementor Form with Google Sheet : #
- Ensure that you have successfully integrated (Automatic Integration or Manual Integration) Elementor Form with Google Sheet Connector.
Edit Elementor Form : #
After integration of Elementor Form Google Sheet Connnector .
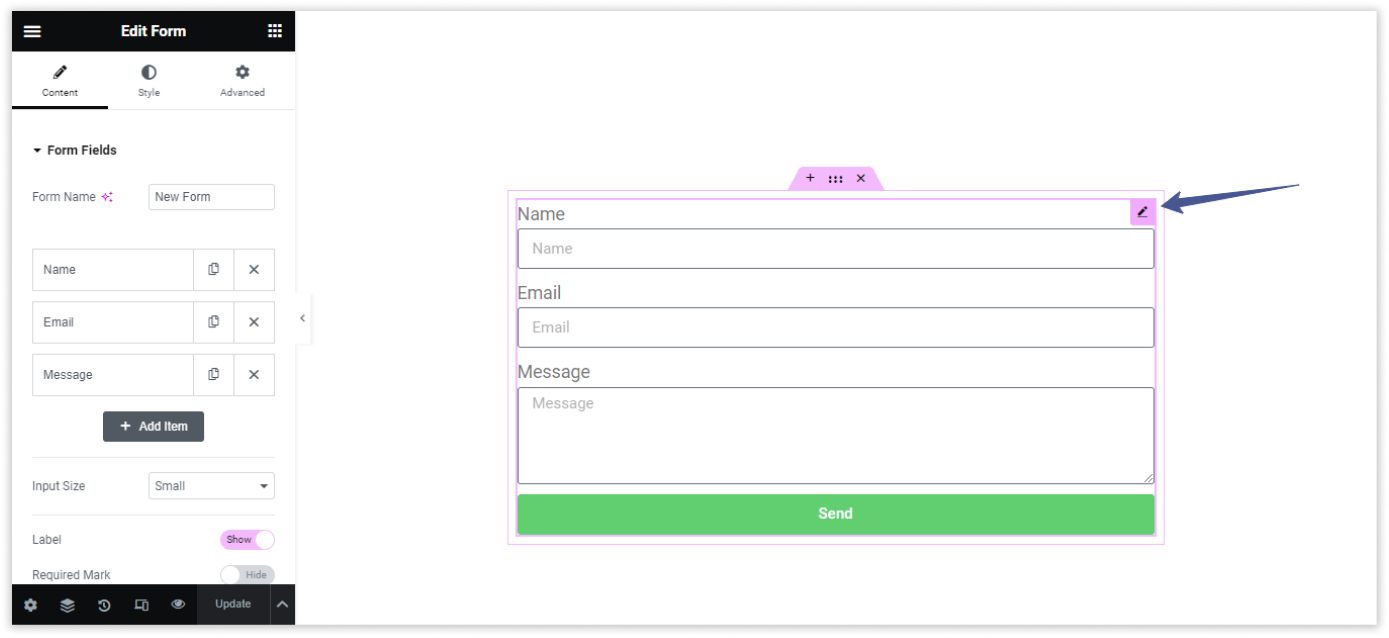
Go to the page where you have created Elemenetor Form – edit form.
Edit Elementor Form : #
- Go to the Elementor Form page and edit the form.
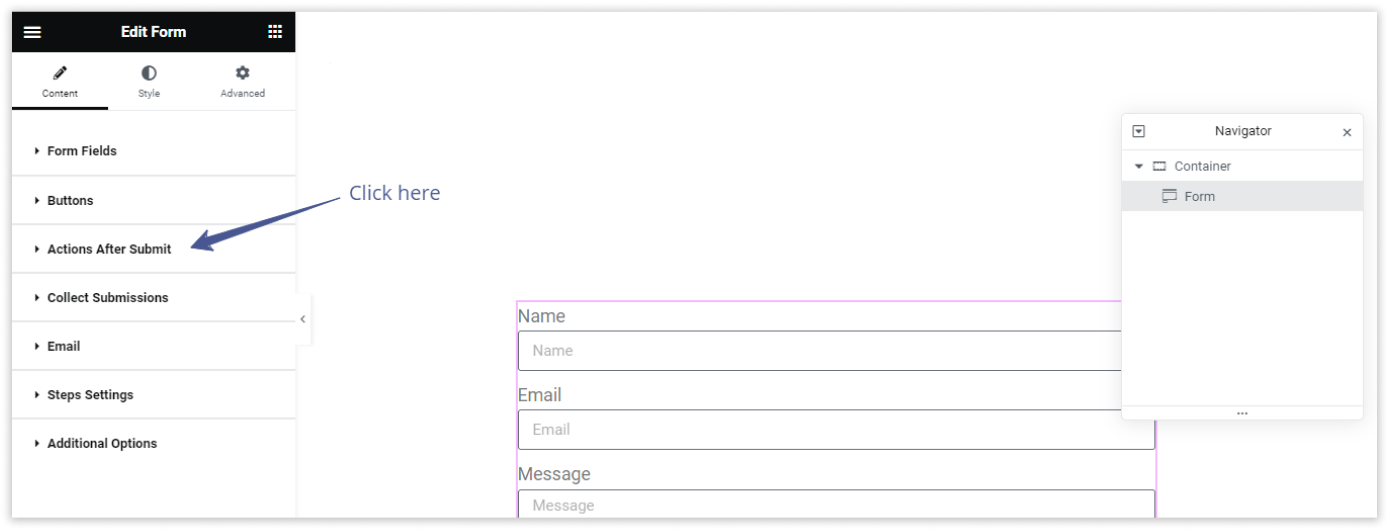
Configure Actions : #
- Click on “Actions After Submit.”
- Add Action – “GSheetConnector” .
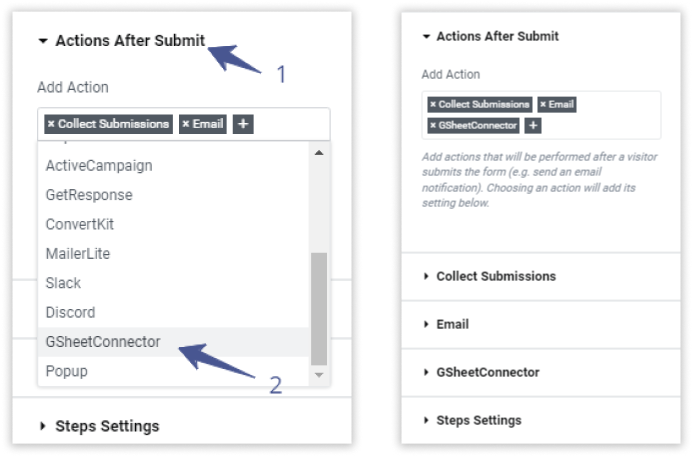
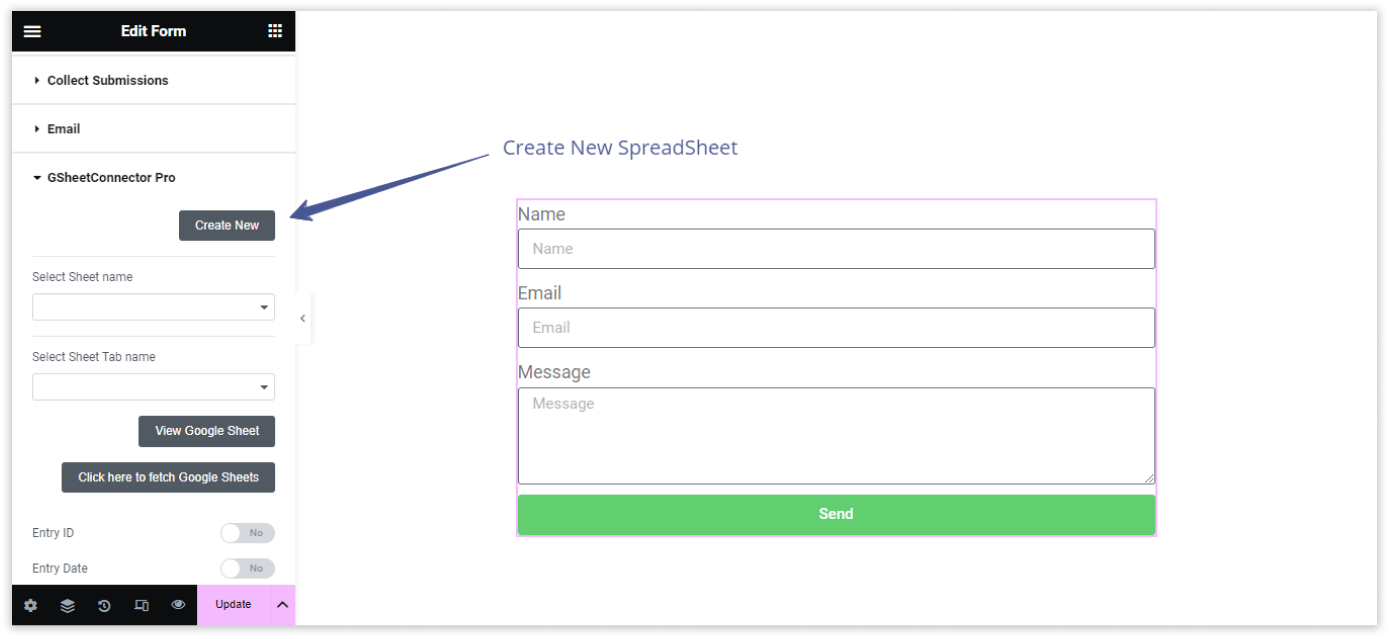
Configure GsheetConnector Feed : #
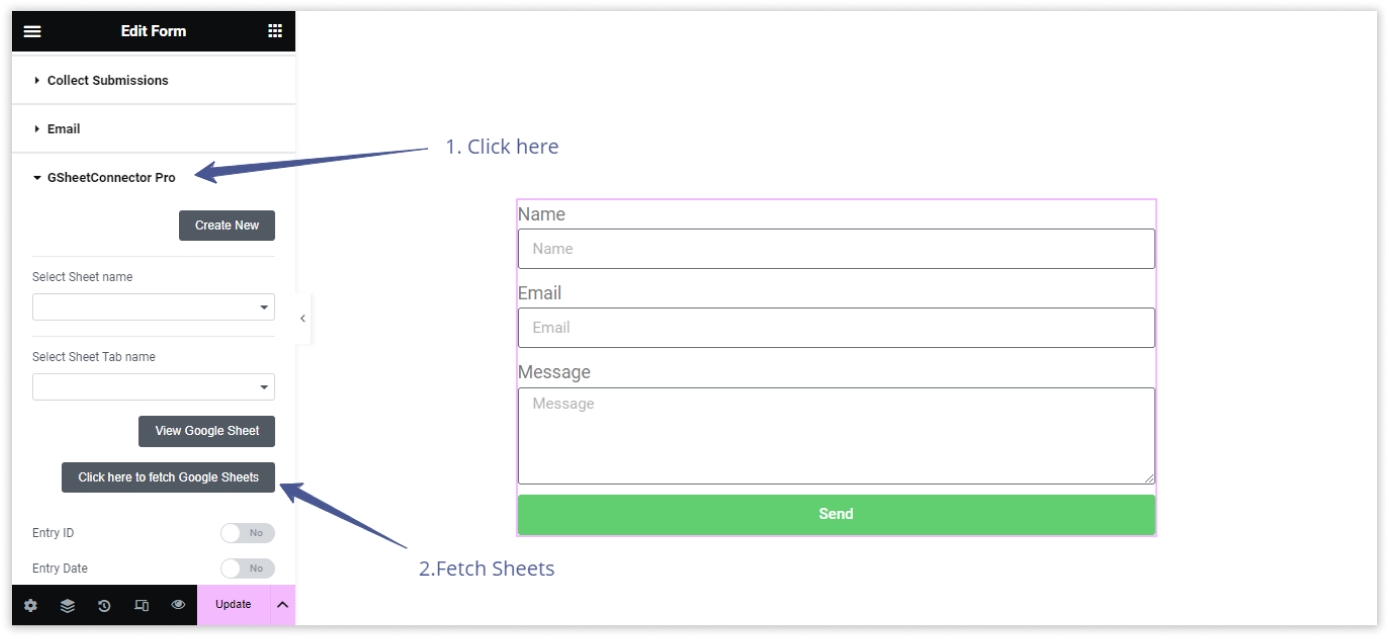
- Click on “GSheet Connector” to configure the feed.
- If sheets are not showing, click on “Fetch Spreadsheets.”
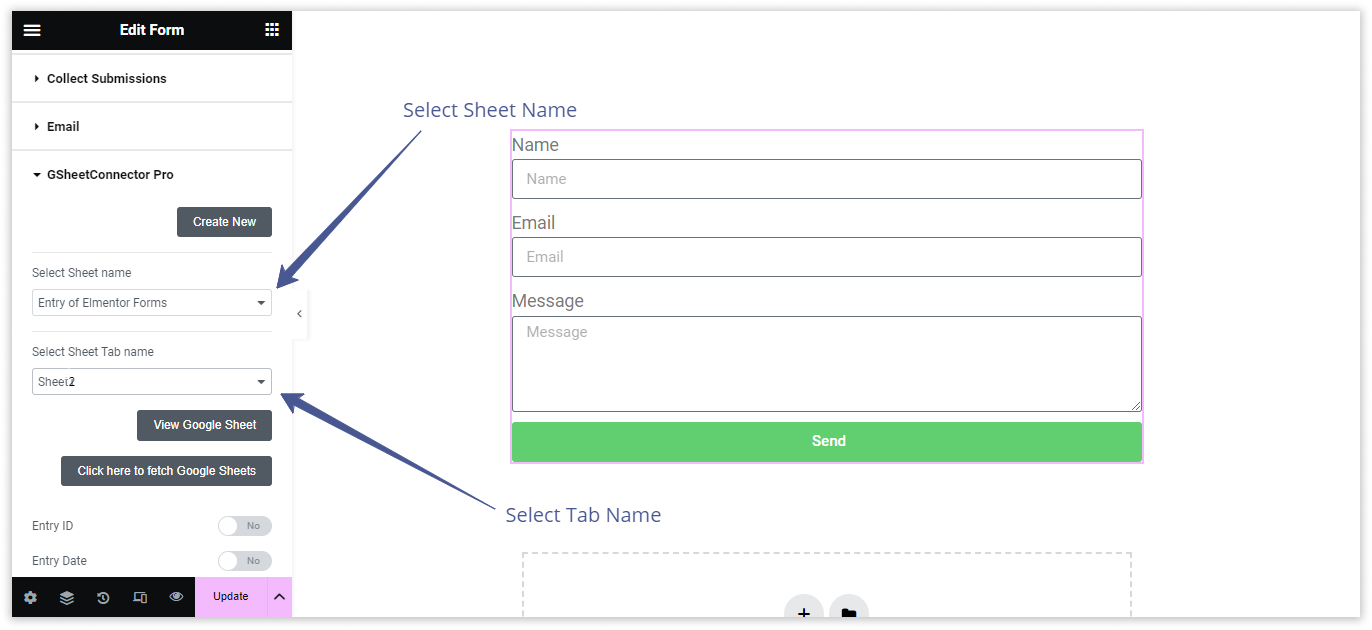
- Choose the Google Sheet Name where you want to store your form entries.
- Select the specific Google Sheet Tab Name.
Add Fields to Google Sheet : #
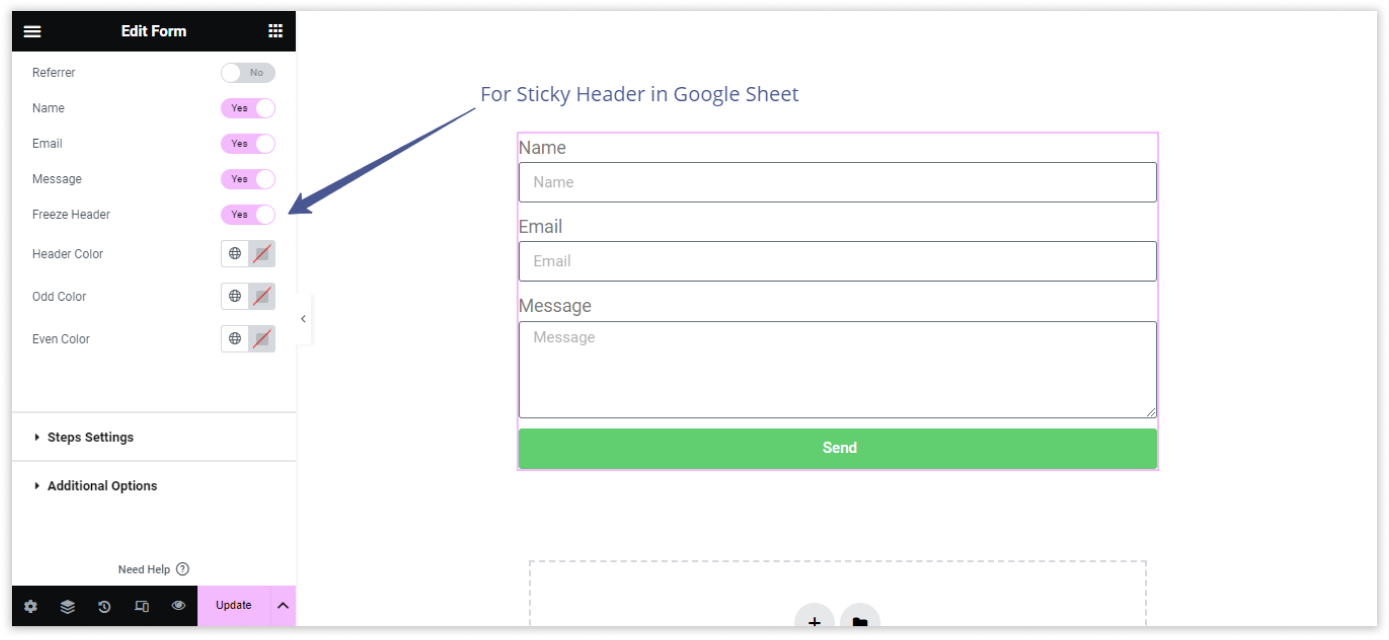
- Toggle on the fields that you want to add in your Google Sheet.
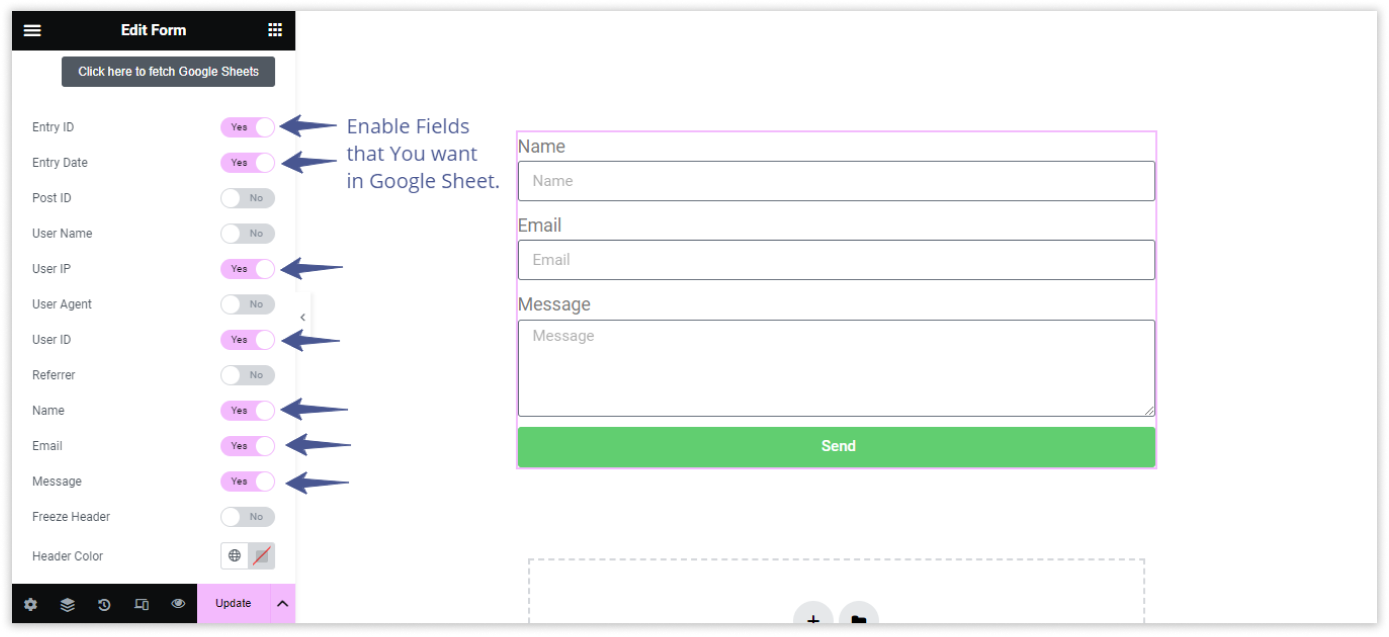
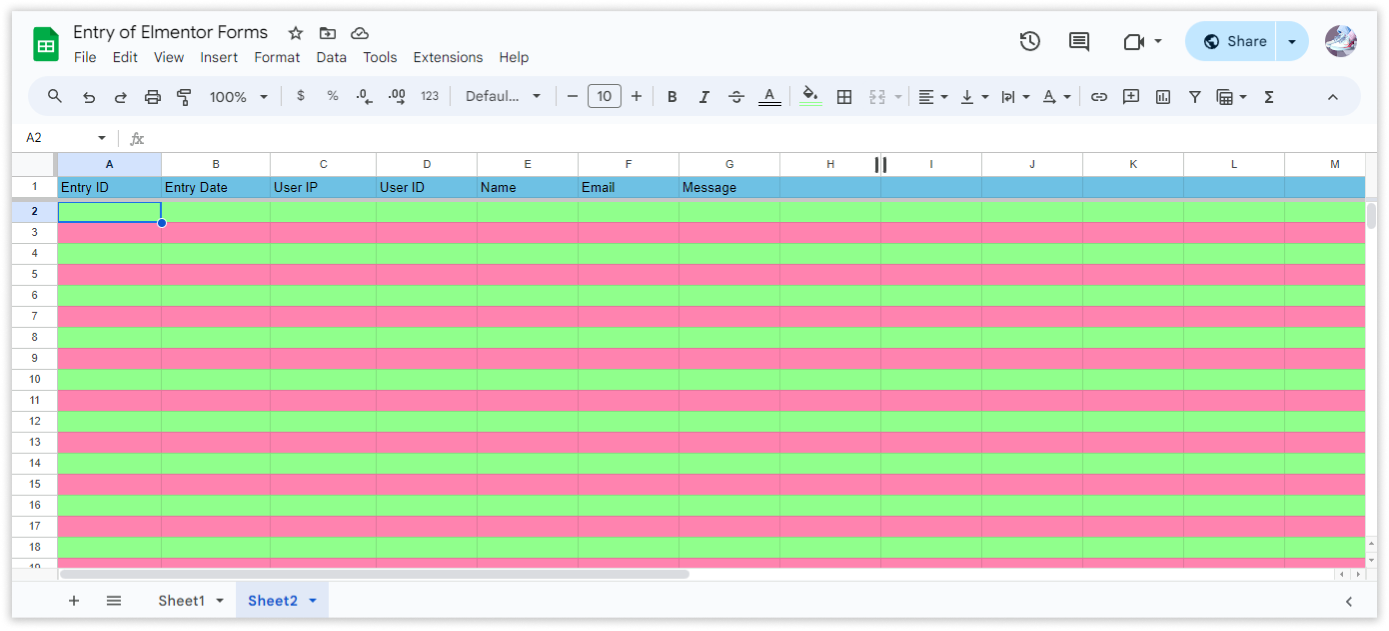
Freeze Header : #
- Click on “Freeze Header” to make your header sticky in the Google Sheet.
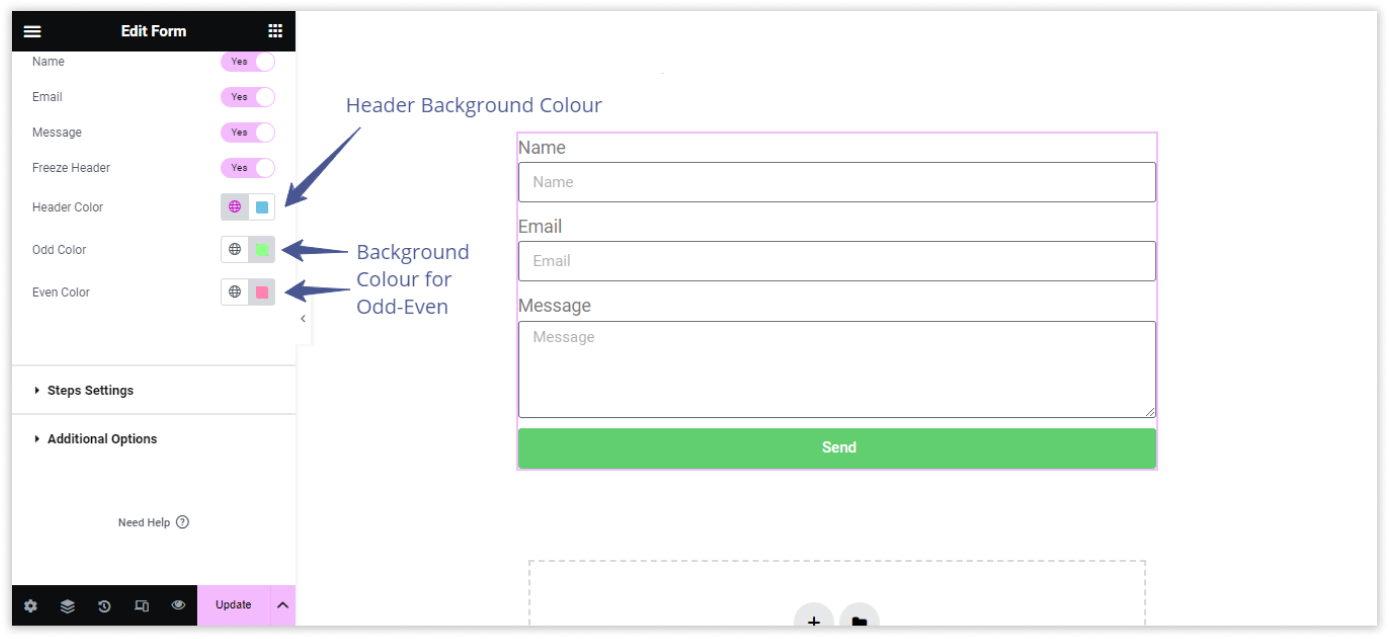
Header Color : #
- Choose Header Color for the header background color in the Google Sheet.
Odd Color : #
- Choose Odd Color for Odd Rows background color in your Google Sheet.
Even Color : #
-
Choose Even Color for Even Rows background color in your Google Sheet.
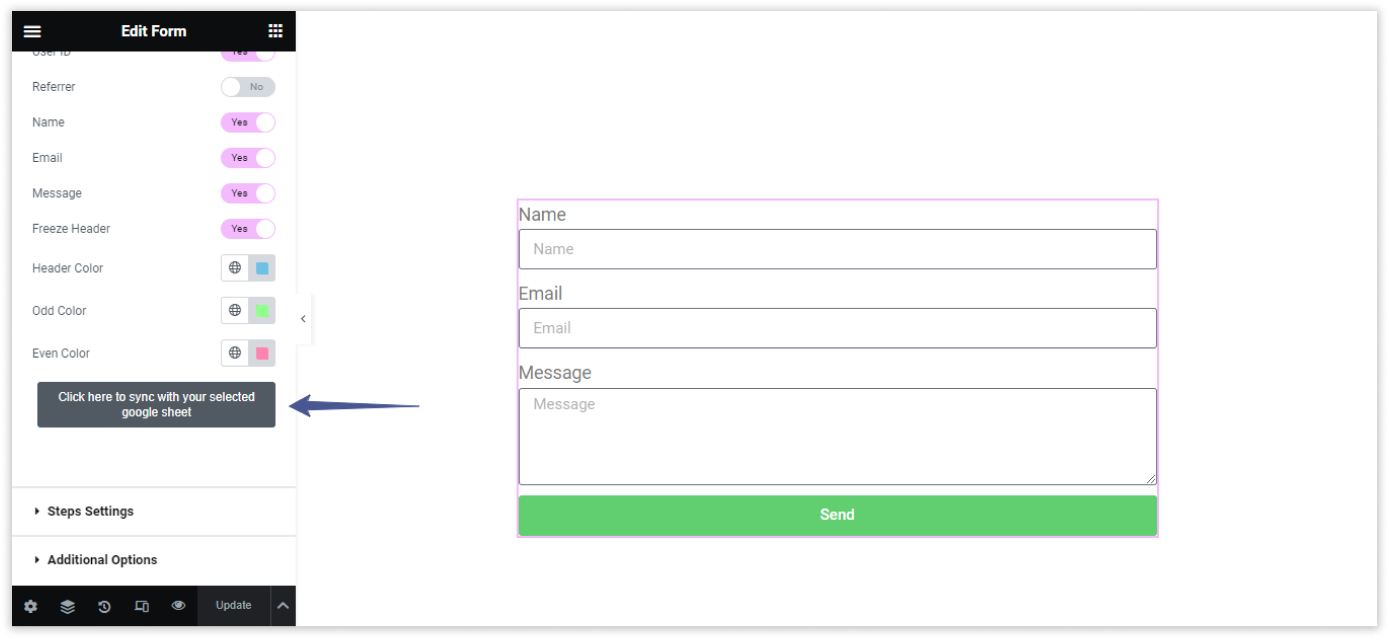
Synchronization : #
- Click on “Click here to sync with your selected Google Sheet” to synchronize your form entries with the selected Google Sheet.
Publish or Update : #
- After configuring all the settings, click on “Publish” or “Update” to save the changes.
View Your Google Spreadsheet : #
- Click on “View Google Sheet” to check your Google Sheet.