As mentioned in above article INTEGRATION WITH GOOGLE (EXISTING METHOD) we have mentioned that there are multiple options to select the Google API Settings to connect.
- Use Existing Client/Secret Key (Auto Google API Configuration)
- Use Manual Client/Secret Key (Auto Google API Configuration)
In this knowledgebase, steps to shown the configuration with “Manual Client/Secret Key (Auto Google API Configuration)”
This feature is accessible only in the PRO versions of the plugin.
Begin by choosing the “Use Manual Client/Secret Key (Use Your Google API Configuration)” option from the Google API Setting dropdown menu, and then click on the Save button. This action will show an input box/textbox where you can input the Client ID and Secret Key.
For instructions on creating your own API Client ID and Secret Key, please refer to the documentation titled “How to Create New Client ID and Client Secret Keys.”

Enter the Client ID and Client Secret Key into the provided input boxes, and then click the Save button.

Afterward, you’ll find a button that enables you to generate the Authentication Token, as per the below screenshot.

Click on the button “Click here to generate an Authentication Token”. Which will redirect you to log in to your Google Account with which you want to integrate.
The use of Reset Button is to make changes.

In case of any errors, use the Reset Button to make changes. Check error details in the next window if needed.

Copy the Redirect URL and paste it into your Google API. Navigate to your Google Console Cloud API’s Credentials and paste the URL in the Authorized Redirect URLs section.

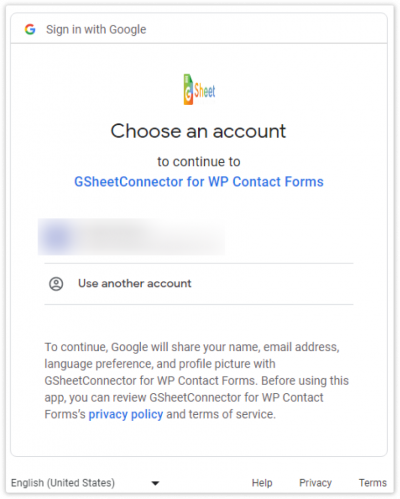
Return to the Integration Page and select the account you wish to integrate. Grant Google Drive Permission.
Select the account with which you want to integrate & Give Google Drive Permission.
Give Permissions like below to Google Drive.
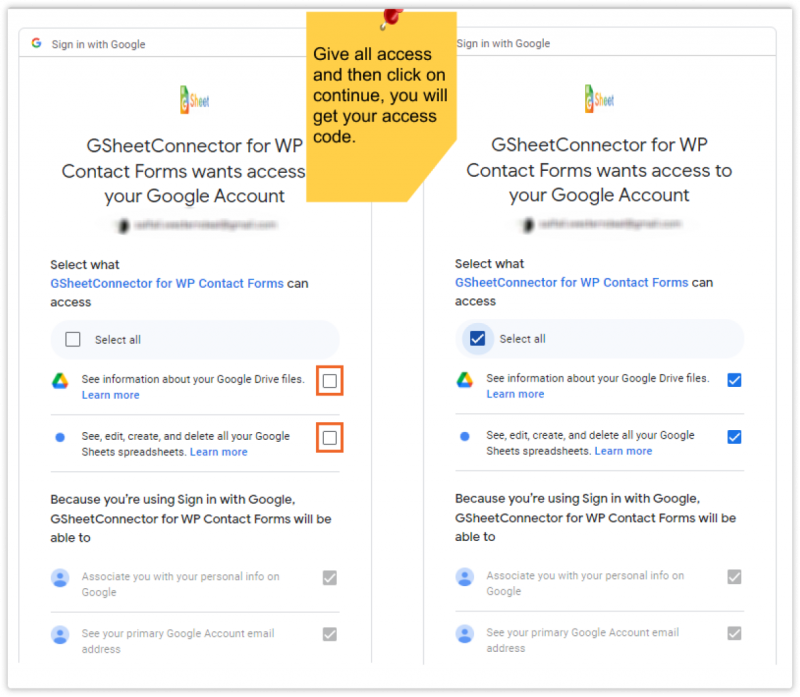
Once you’ve logged into your Google Account, you’ll see a dialog box requesting permissions for integration and data storage in Google Sheets. To proceed, simply click the “Allow” button.
You will then be redirected to the integration page, and the authentication code will be automatically populated in the input box.
Lastly, click the “Save” button to complete the process.

Once you’ve saved the authentication details, the page will show the connected Google Account along with a “Deactivate” button, which enables you to deactivate the authentication if needed.


